Go to theme: Blover
Table of content
1. Theme Installation
1.1. Installation via the WordPress admin panel
By installing the Blover theme via the WordPress admin panel, you can always be sure that this is the latest version of the theme.
To install the template, log in to the WordPress panel. Then come in Appearance > Themes > Add New.
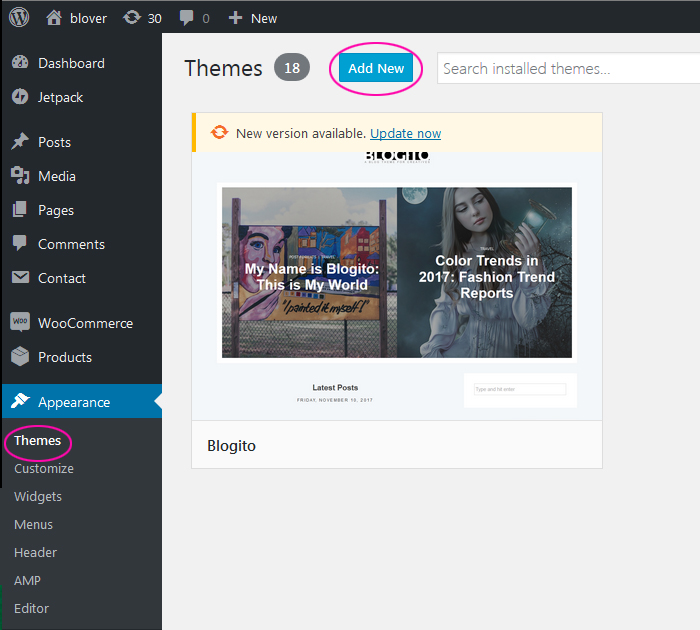
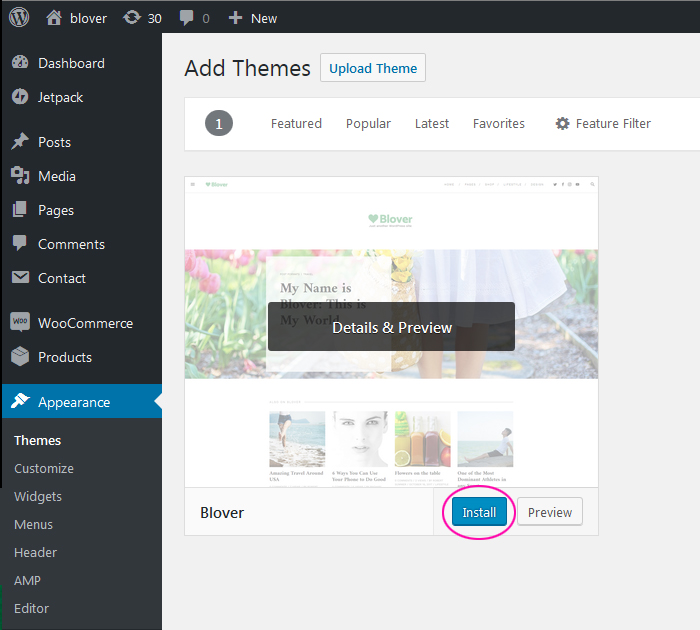
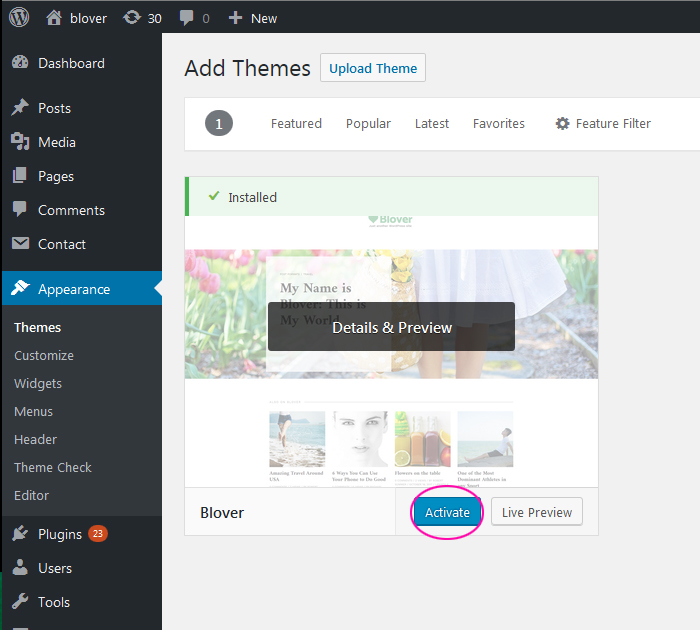
In the right window, enter the name of the template – in this case – Blover. Then click Install and after a moment Activate.
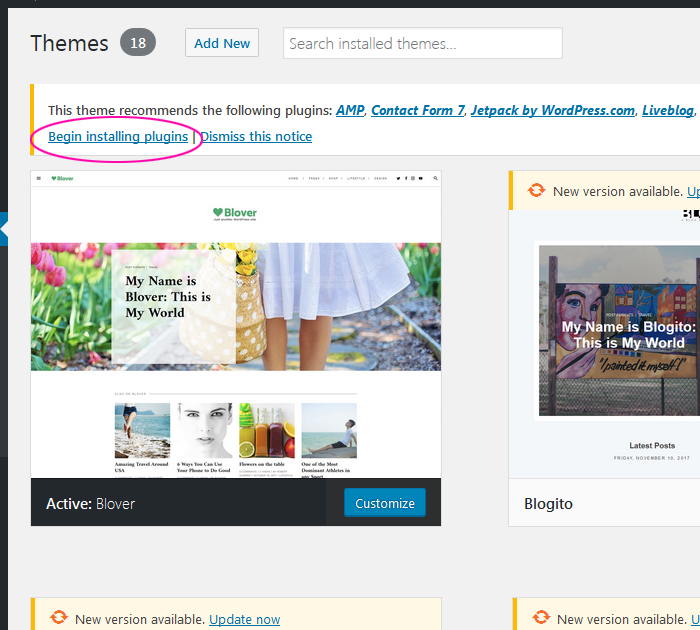
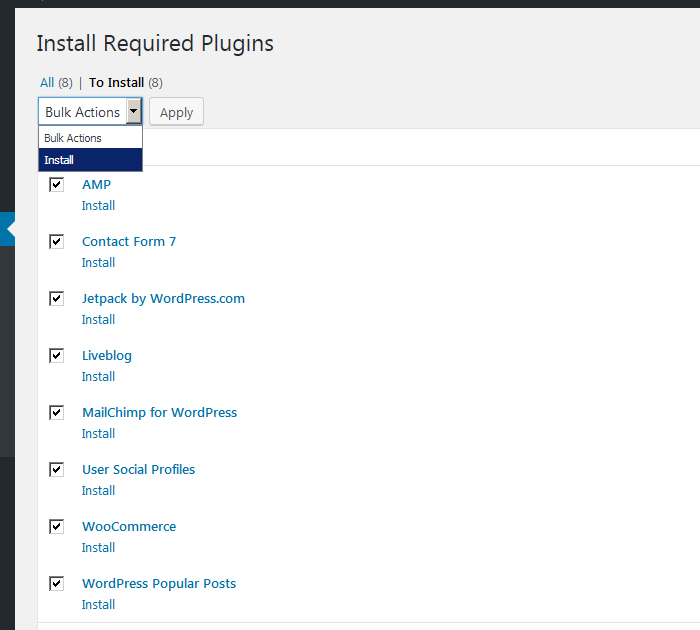
A list of recommended plugins will appear at the top of the screen, click Begin installing Plugins
 Select all by clicking on the square at the top, and then select Install > Apply from the drop-down list. Now you have to activate the installed plugins – select all and select Activate from the list and then click Apply.
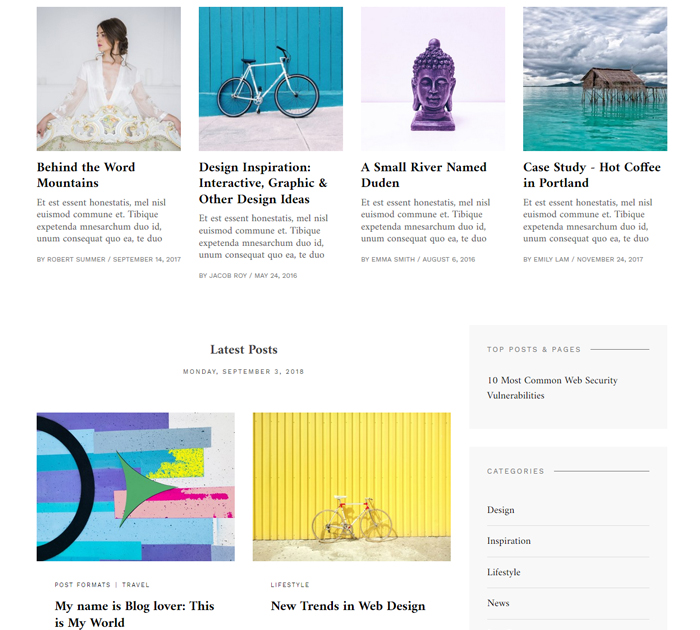
 If you do not have your content yet, your website looks something like this:
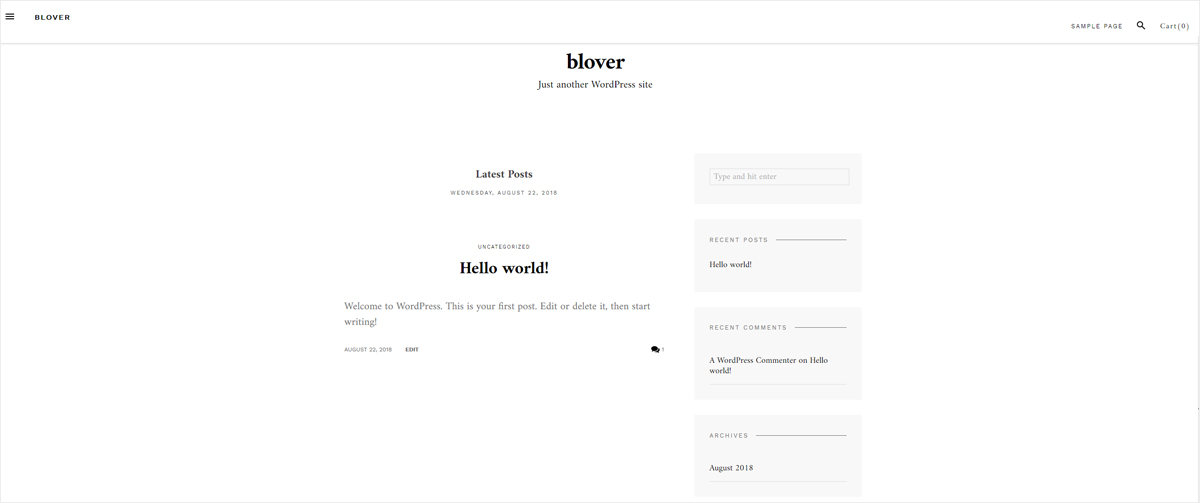 But do not worry!
In order for the site to look like in our demo, you have to change some settings and add content. If you do not know how to write a new blog post in WordPress read this article.
It’s not difficult, so let’s get going!
2. Setting up the Front Page
2.1. Custom Logo
Please go to Appearance > Customize > Site Identity > Select logo
![]()
REMEMBER
The best image height is 40px, then the logo will display correctly.
In the Site Identity section, you can also set a site icon, which is a small icon that is displayed at the top of the browser tab.
![]() Here you can also set Site Title and Tagline, which are displayed at the top of the page. You can turn them off or replace them with the appropriate Header image.
Here you can also set Site Title and Tagline, which are displayed at the top of the page. You can turn them off or replace them with the appropriate Header image.
2.2. Header Image
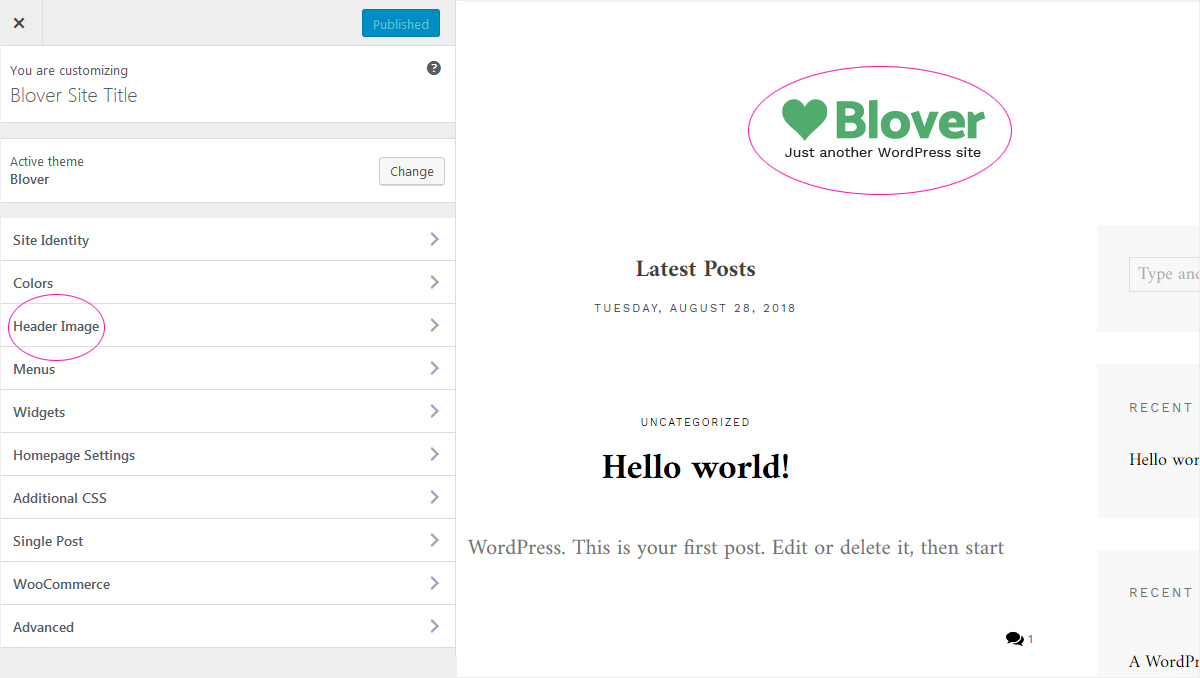
To display Header image go to section > Header Image (Appearance> Customize> Header Image).
Choose the photo that suits you best.
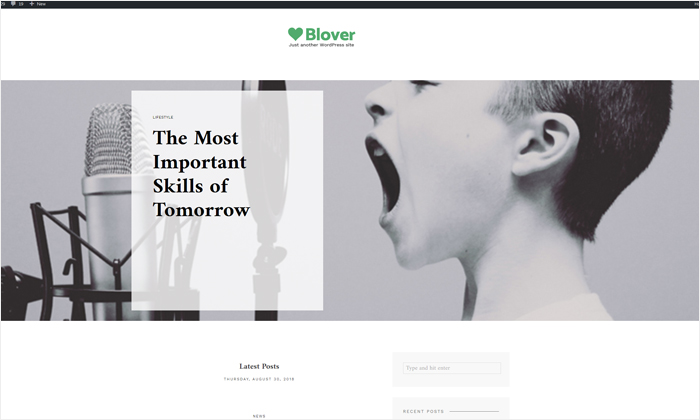
When the Show Full Width Image option is selected, the image will extend to the entire width of the page – therefore you have to adjust its size yourself. Depending on the screen resolution of the user’s, the picture will display better or worse.
And here the problem arises, the larger the image, the heavier the page, but on the other hand most users will display your page correctly. It depends on you what dimensions you will use.
From the data collected at https://www.w3schools.com/browsers/browsers_display.asp, it appears that about 95% of their visitors have a screen resolution of 1024×768 pixels or higher.
Therefore, the minimum header image should be at least 1920px.
2.3. Colors
By entering Appearance > Customize > Colors you can change the background colors and individual sidebar elements.
2.4. Homepage slider
Home Page Slider displays Sticky Post with Featured Image.
GOOD TO KNOW
To view homepage slider you must have ready-made posts. If you do not know how to write a new blog post in WordPress read this article.
To set up the Home Page Slider first:
2.4.1. Set up Featured Image
Featured Image represents the contents, mood or theme of a post. Featured Image is used in a number of areas like on the homepage, post page, popular post areas, homepage slider, etc.
Open the post in which you want to display a unique custom header image (featured image).

Locate the Featured Image module on the right. Click Set Featured Image. Now You can upload your image or choose one from your Media Library.


 Find post, go to Quick Edit and Make this post sticky by checking the tick box > Update

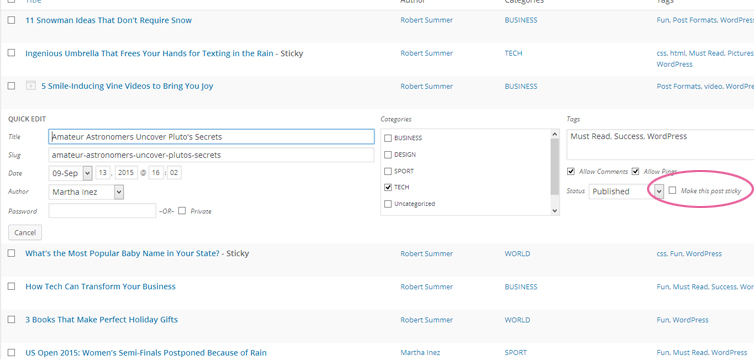
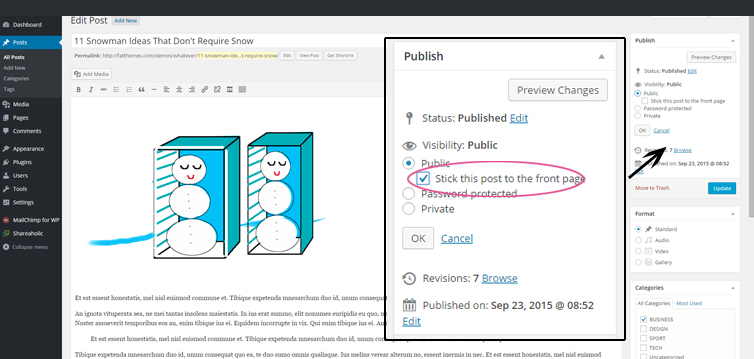
- or you can also open up the post’s page go to Visibility (the ‘Publish’ section in the Post editor) click Edit and check to Stick this post to the front page, click OK and Publish.
GOOD TO KNOW
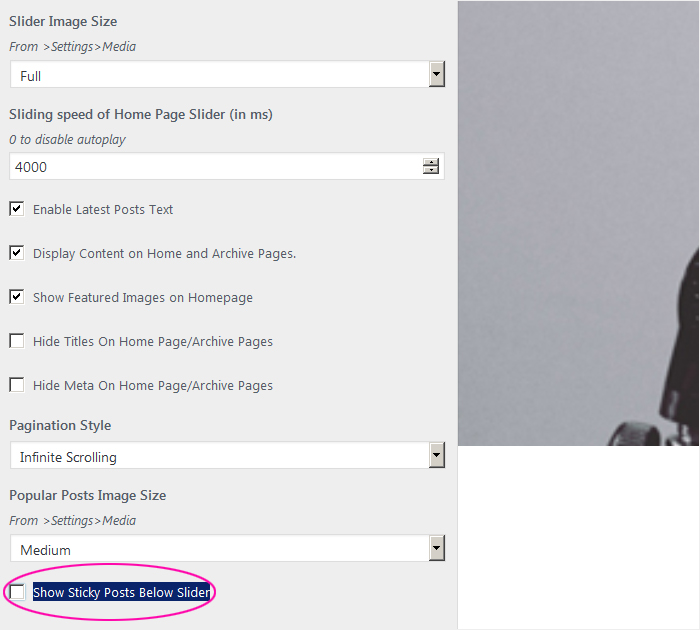
Posts displayed in the slider automatically disappear from the list of posts on the page (they move to the slider). To display posts in two places (in the slider and on the page with posts) enter Appearance> Customize> Homepage Settings and select Show Sticky Posts Below Slider.
2.4.3. Slider settings
Blover theme gives you the ability to customize the slider. By entering Appearance> Customize> Homepage Settings you can change:
- Height of Home Page Slider,
- Slider Image Size,
- Sliding speed (in ms)
2.5. Homepage Settings
To discover all the possibilities of changing the homepage settings please go to Appearance > Customize > Homepage Settings
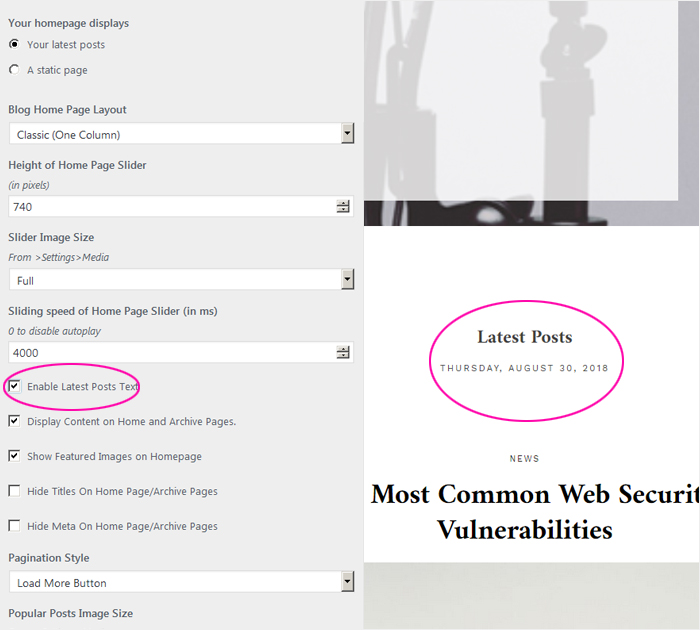
2.5.1. Latest Post Text
You can display or deactivate the ‘Latest Post’ text on your home page.
2.5.2. Homepage Layout
In the Homepage Settings tab, you can choose how posts are displayed on your blog. It can be classic, masonry or list layout.
In the Homepage setting tab, you will find other options that will help you customize the blog to your needs.
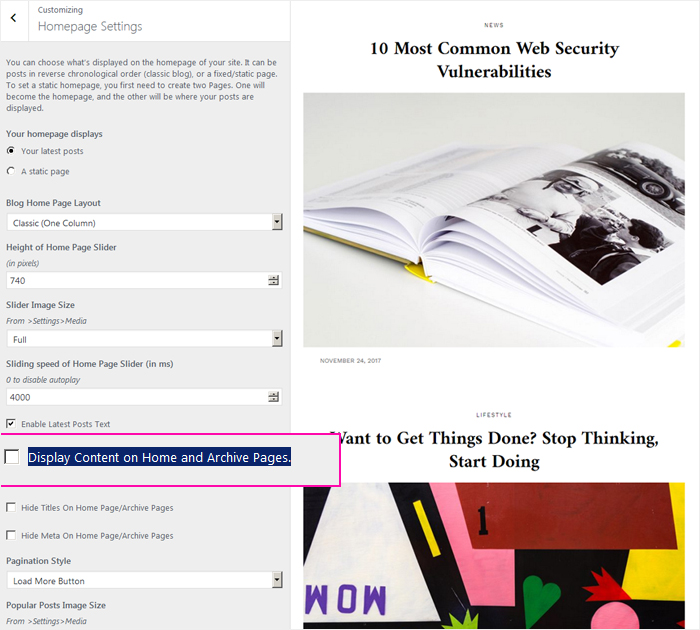
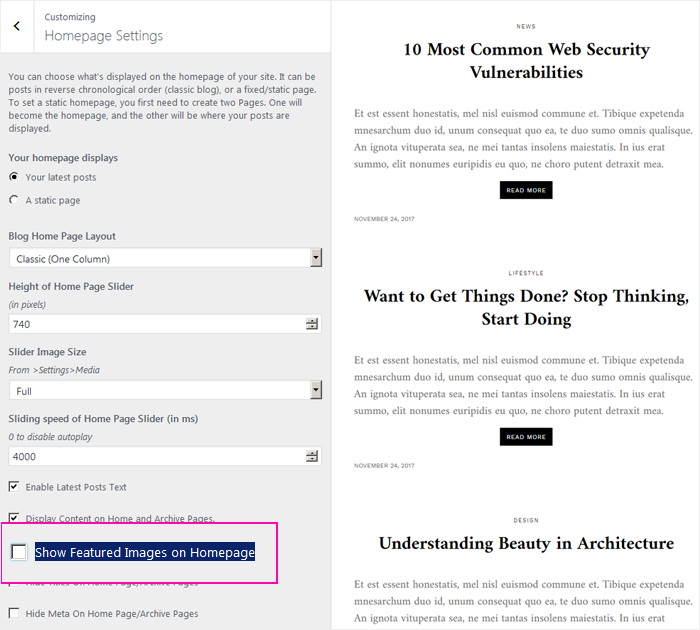
- Disabling the content – You can turn off Display Content on Home and Archive Pages content.
- Hiding featured image – you may not show the featured image on the blog site
- Hiding Titles On Home Page/Archive Pages

- Hiding Meta On Home Page/Archive Pages

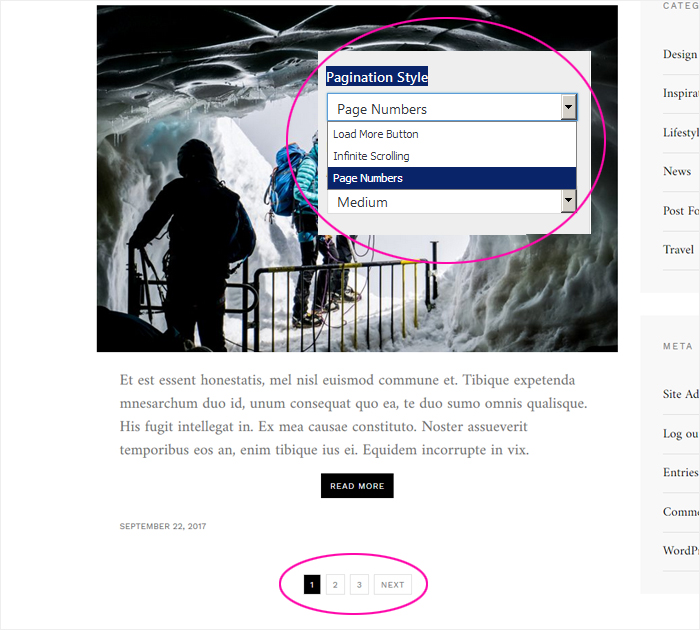
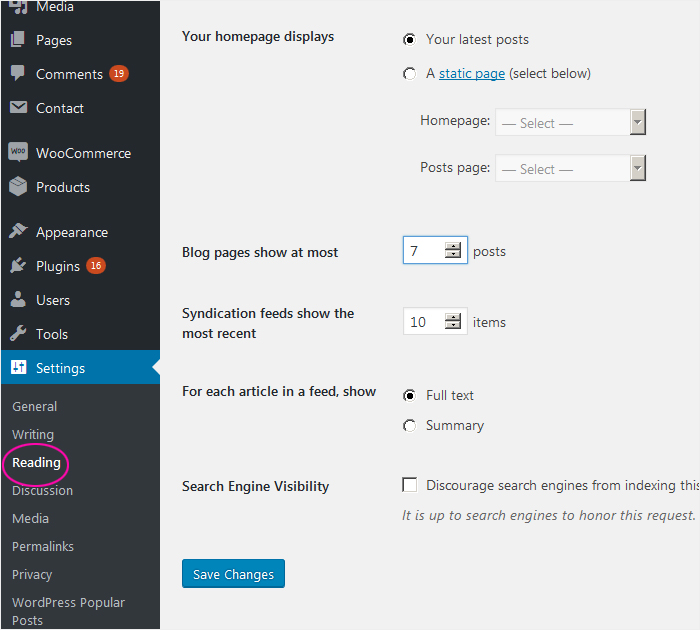
2.5.3. Pagination Style
Blover gives you the option to set up 3 types of Pagination:
– Page Numbers – specified pages give the opportunity to switch to a specific page of the blog.
– Load more button – button for topping up the next post page.
– Infinite Scrolling – smooth loading of subsequent posts on the site.
WordPress gives the user the ability to set the number of posts displayed on the site.
You will do it by entering Dashboard < Settings > Reading
3. Custom menu
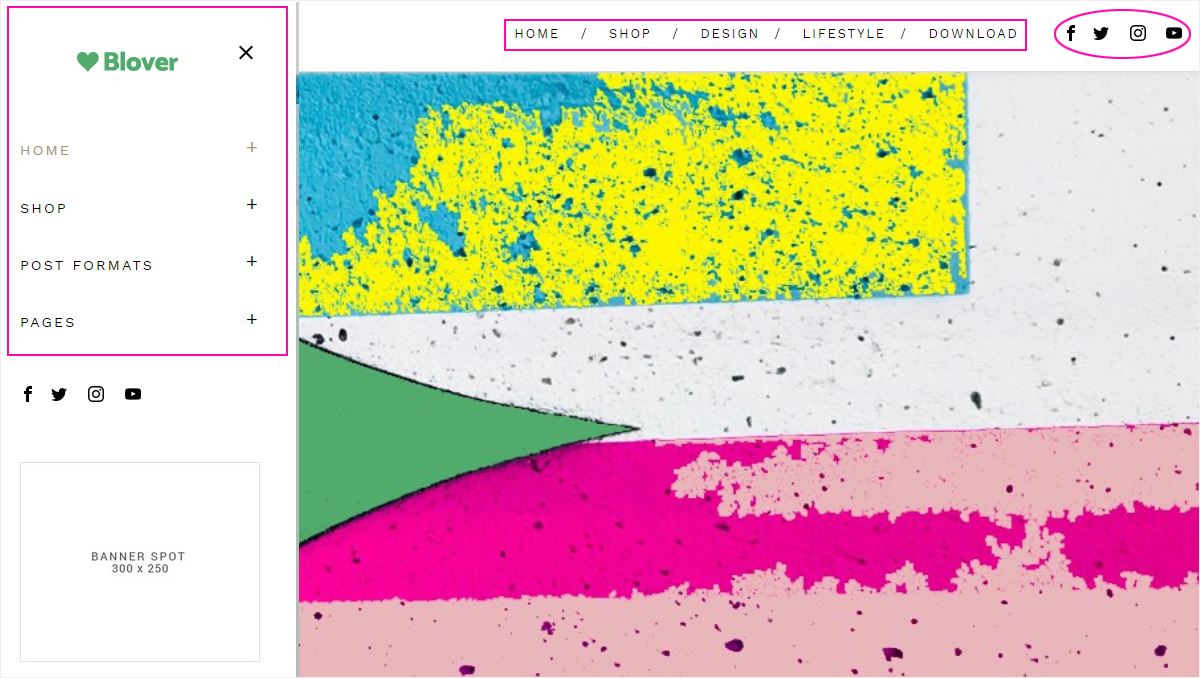
Blover has 3 different menus:
– Left Menu – the main one, the most important menu that appears on all screens.
– Top Menu – this additional menu, displayed at the top of the page, disappears on small screens.
You can set yourself at what screen width you want it to appear, go to Appearance > Customize > Advanced
– Social menu – is displayed in the Top Menu on the right and in the Left Menu at the bottom.
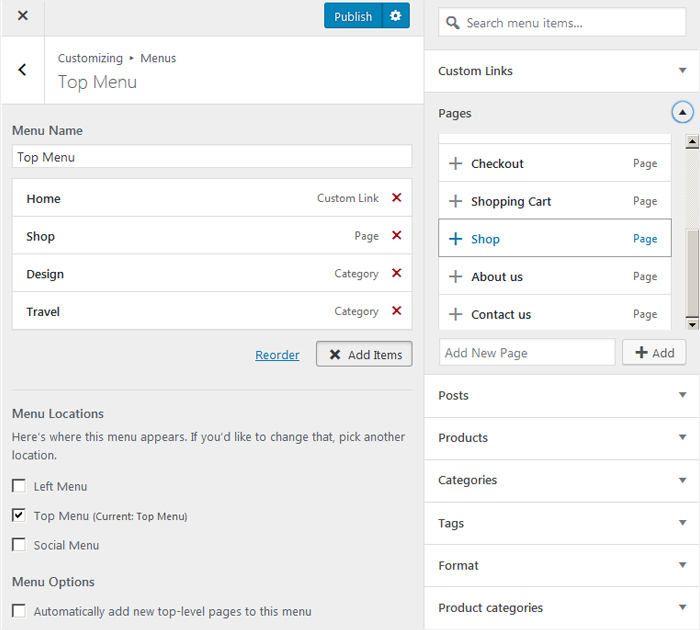
To add a custom menu in the Blover theme go to Appearance > Customize > Menus (or Appearance> Menus).
Click Create New menu, give it a name and decide where do you want this menu to appear, click Next < Add Items < Publish.
3.1. Social Icons
Social icons are displayed on the right in the Top Menu and in the Left Menu.
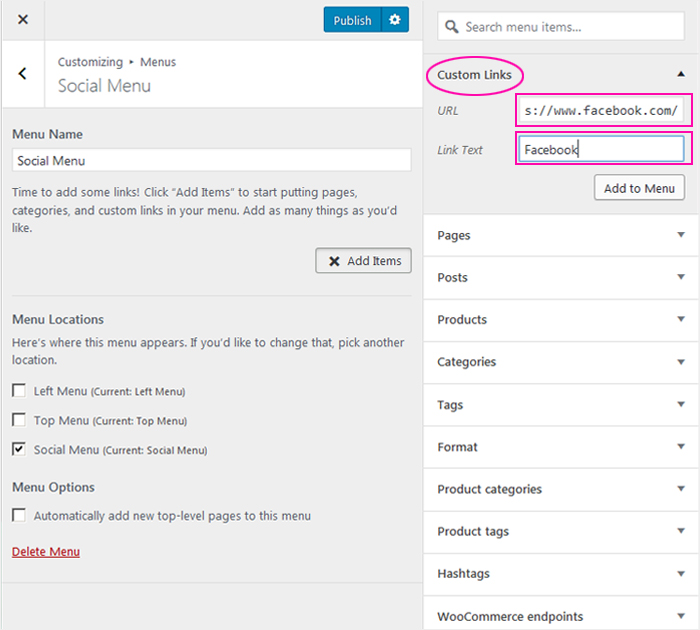
To add social icons enter Appearance > Customize > Menus > Create New menu
In the Menu Name field, type clear name – in this case just simply Social Menu, in the Menu Locations select Social Menu and then click Next > Add items.
From the drop-down list, select Custom Links add a URL (your profile link) and a text link ie: Facebook, Instagram, Twitter or YouTube, click Add to Menu > Publish. The icon will automatically appear in its location.
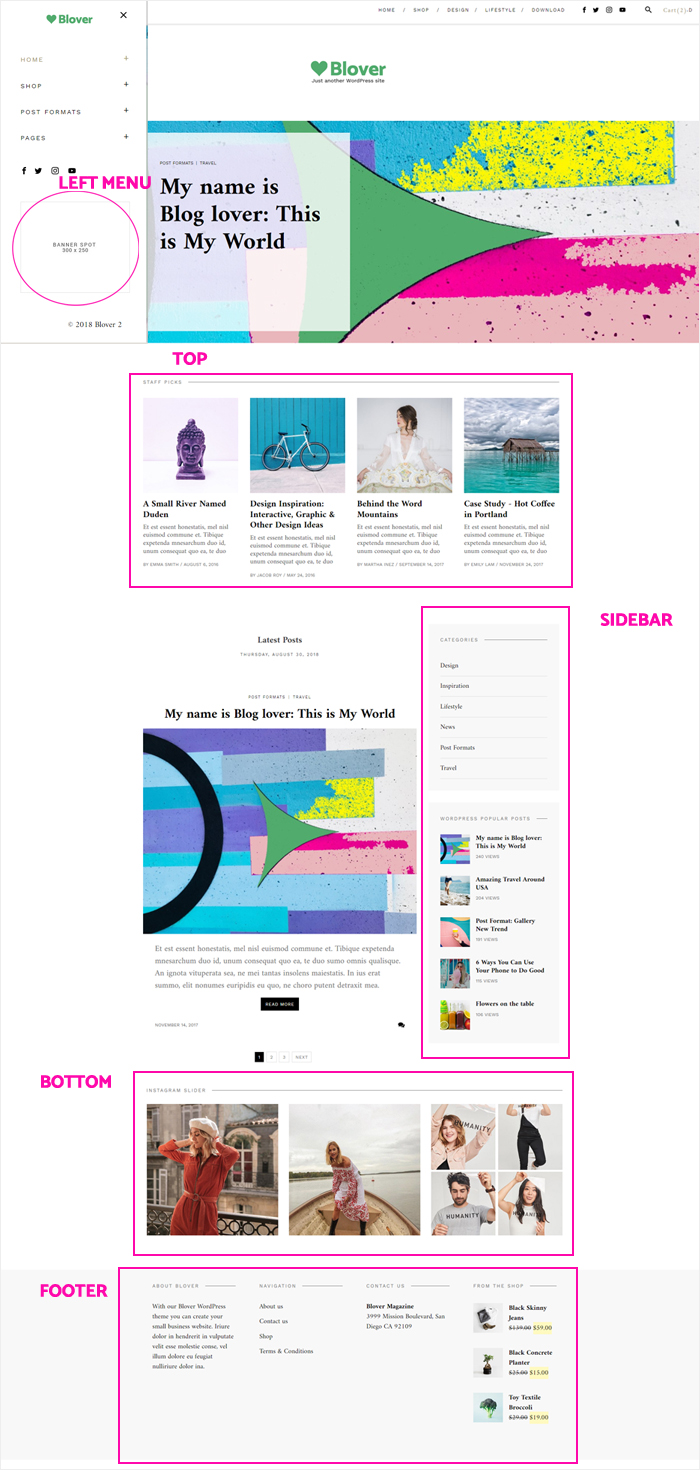
4. Widgets Areas
Blover has 5 different widgets areas: Right Sidebar, Left Menu, Top, Bottom, and Footer. You can add additional content to your website in 5 different, specially prepared areas.
To configure individual widgets areas please enter Appearance > Customize > Widgets (or Appearance > Widgets)
If you want to change the place of displaying a given plugin within the same area, right-click on it, hold and move it.
In turn, if you want to move a given plugin to another widget area, go to Appearance > Widgets and drag it to the place you want.
For more information on widgets, see the article: How to Display Widgets in WordPress blog.
4.1. Right Sidebar Widget
The plugins you’ll find in the Right Sidebar include
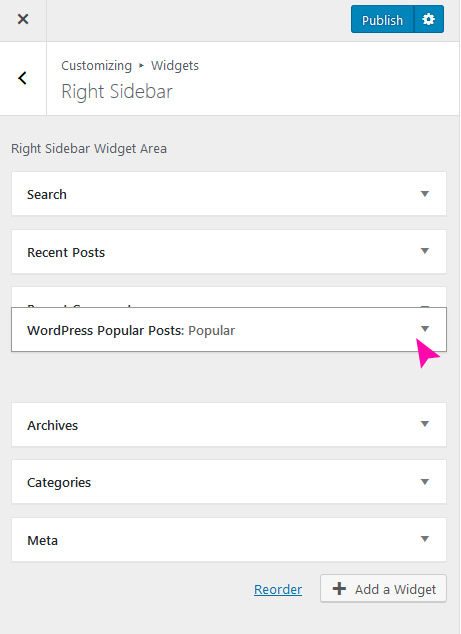
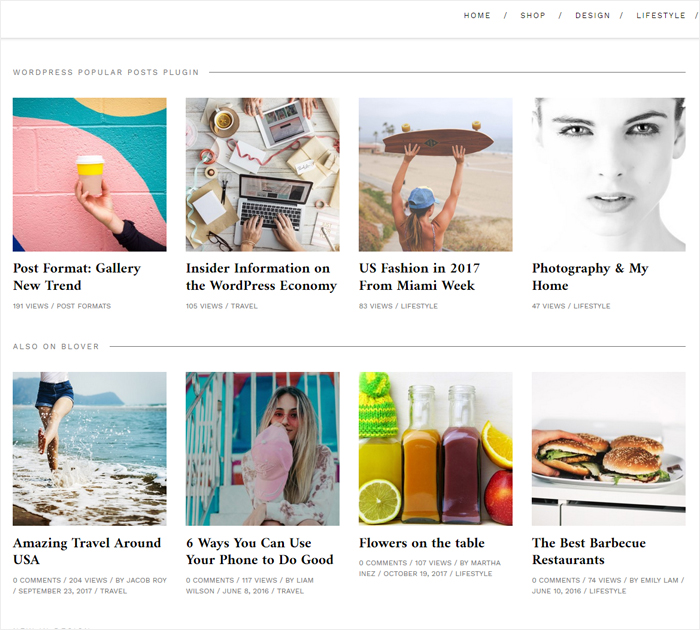
4.1.1. WordPress Popular Posts
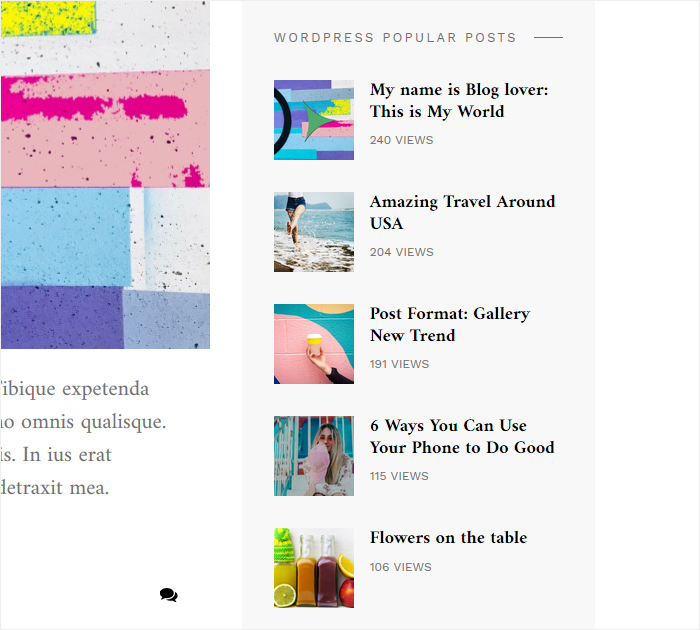
How do you set this widget to look like in our demo? It’s nothing hard.
Please go to Appearance > Customize > Widgets < Right Sidebar < Add a Widget < WordPress Popular Post.
Now just complete individual fields. To accept the changes press Apply and then Publish.

Where to find Post ID(s), Author ID and Taxonomy IDs?
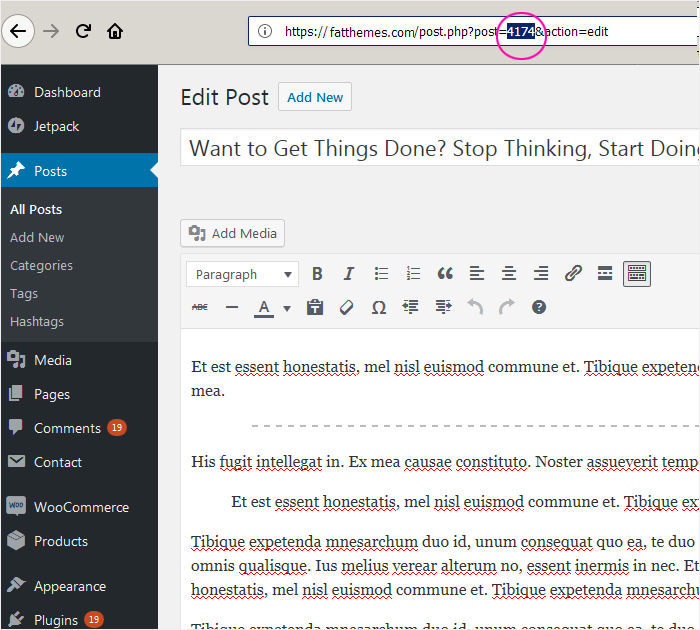
– Post ID(s)
Open a specific post – (Post > All posts). You can find the Post ID in the browser’s address between the ‘post = …… &’ characters.
– Author ID
To find Author ID, enter a specific author (Users> All users). And at the top in the browser’s address, look for numbers between the characters ‘id = ……. &’
– Taxonomy IDs
Taxonomy ID is just a Category, Tags, Hashtags ID.
You can find information about the ID of a given category, tag or hashtag by entering: Posts> Categories (Tags or Hashtags). Next, enter a specific category (possibly tag or hashtag) and at the top in the browser’s address between the characters ‘ID = ……. &’ you will find the number you are looking for.
For more information about this plugin, please visit WordPress Popular Posts.
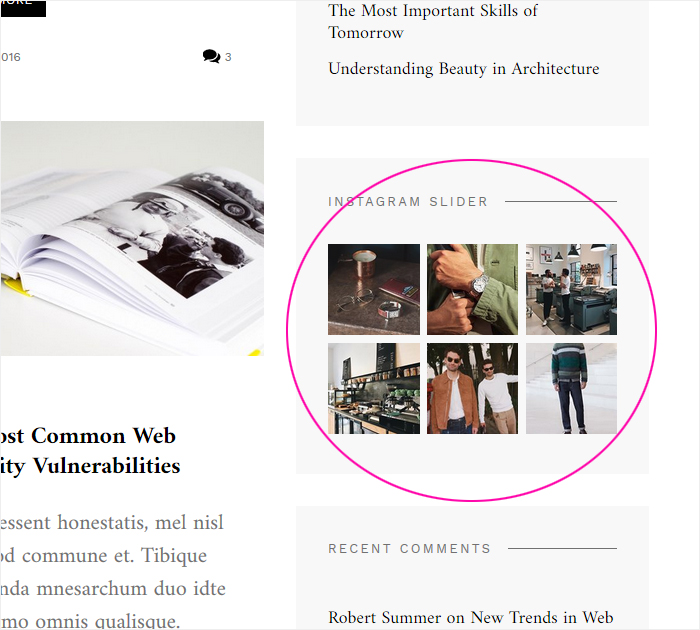
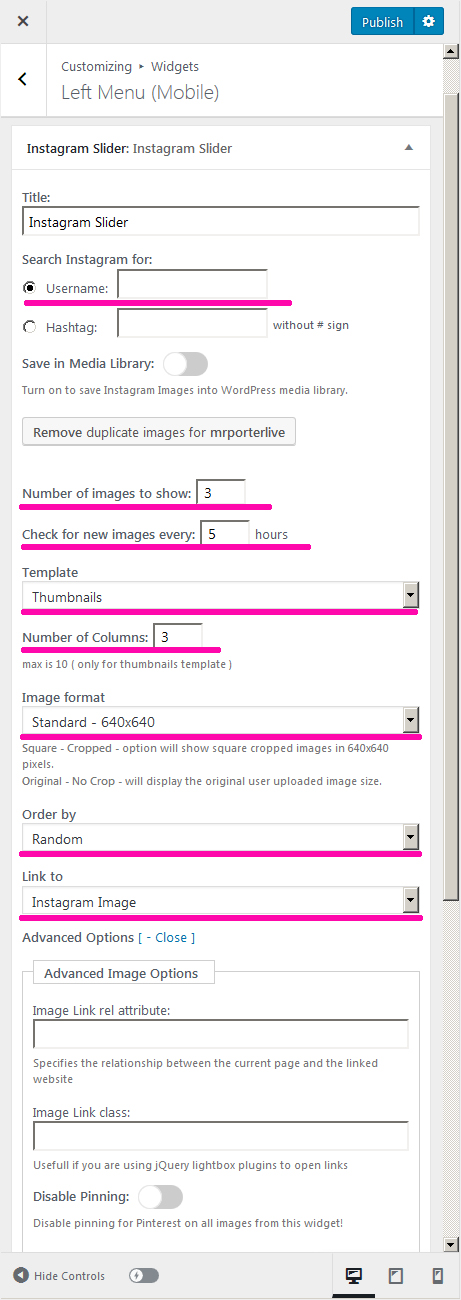
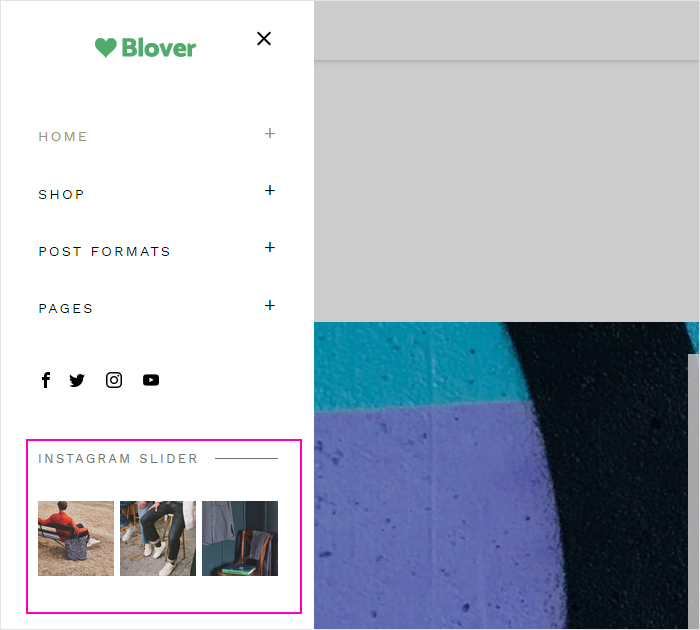
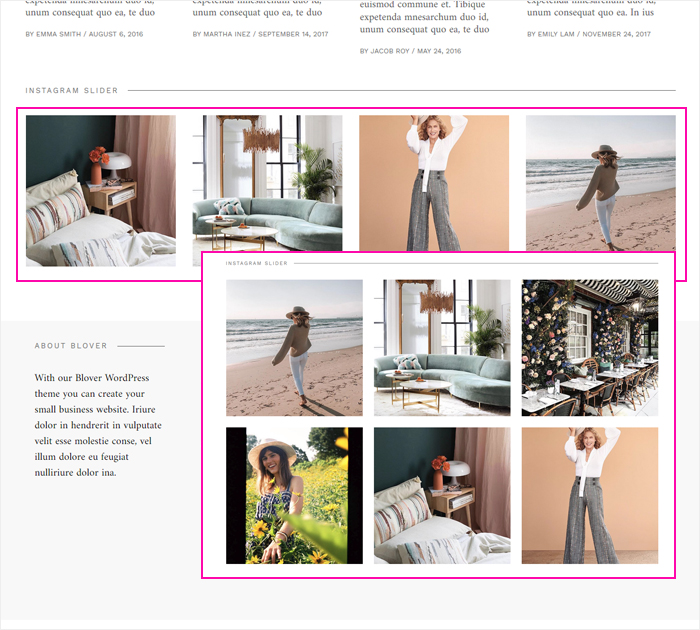
4.1.2. Instagram Slider Widget
To add Instagram slider enter Appearance> Customize > Widgets (or Appearance> Widgets) > select Instagram locations Left Menu, Right Sidebar, Top, Bottom or Footer > Add a Widget
Next please select Instagram Slider (in the Image format field select Thumbnails 150×150) and fill in the fields. Finally, click Publish
To learn more about Instagram Slider visit: WordPress.org Plugin Page.
4.1.3. MailChimp for WordPress
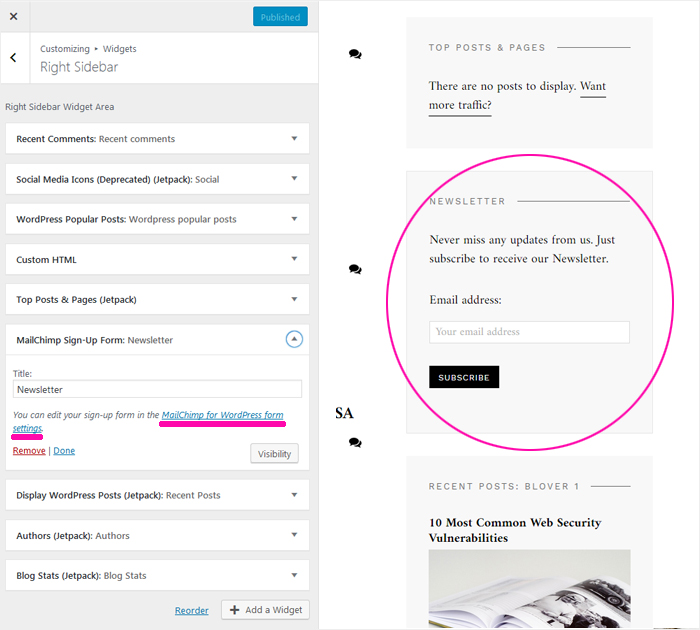
MailChimp is another plugin that you can add to your website. First, add it to the place of your choice. Click Appearance > Customize > Widgets > select locations: Right Sidebar or Footer > Add a Widget> MailChimp Sign-Up Form.
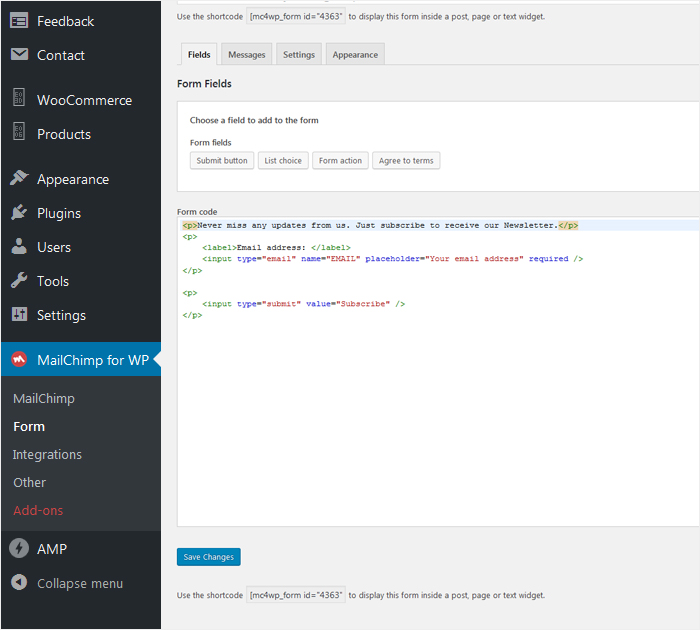
In the next step, you need to create a new form and define settings for it.
You can do it by clicking the MailChimp for WordPress form setting link (pictured above) or by entering Dashboard > MailChimp for WP > Form > Add new form.
Want to learn more about this plugin? Go to the MailChimp for WordPress website.
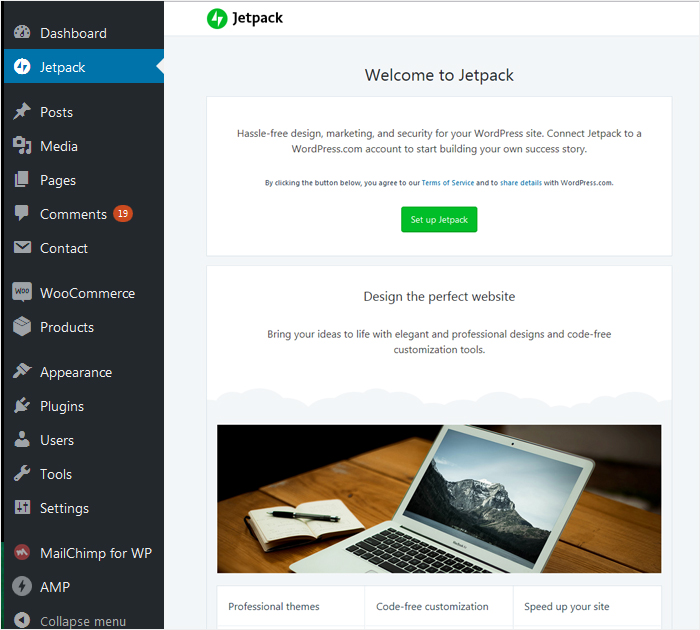
4.1.4. Jetpack by WordPress.com
The next three plugins are by Jetpack. You will find its settings by going to Dashboard < Jetpack > Set up Jetpack.
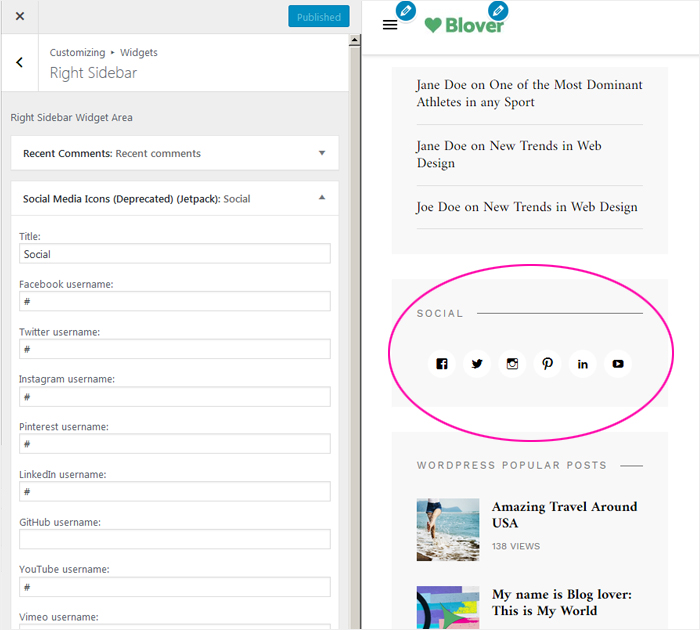
4.1.4.1. Social Media Icons (Jetpack)
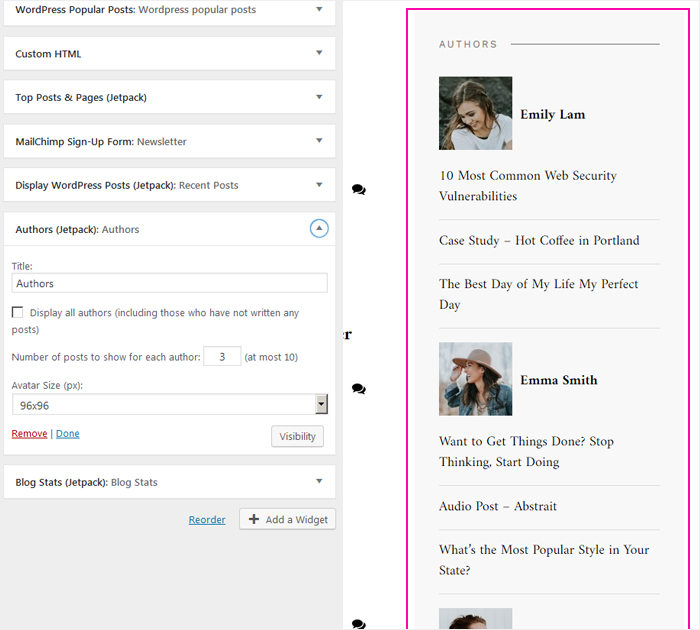
4.1.4.2. Authors (Jetpack)
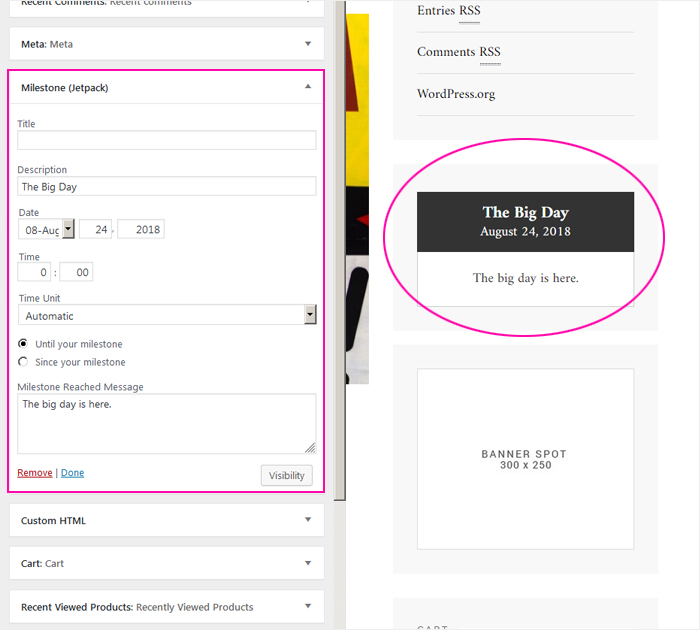
4.1.4.3. Milestone (Jetpack)
4.2. Left Menu Widget
Below the Left Menu, there is a widget for additional content. Here you can insert eg:
– Instagram Slider Widget – remembering to select Thumbnails 150×150 in the Image format field. Instructions on how to insert this plugin can be found in section 4.1.2. above
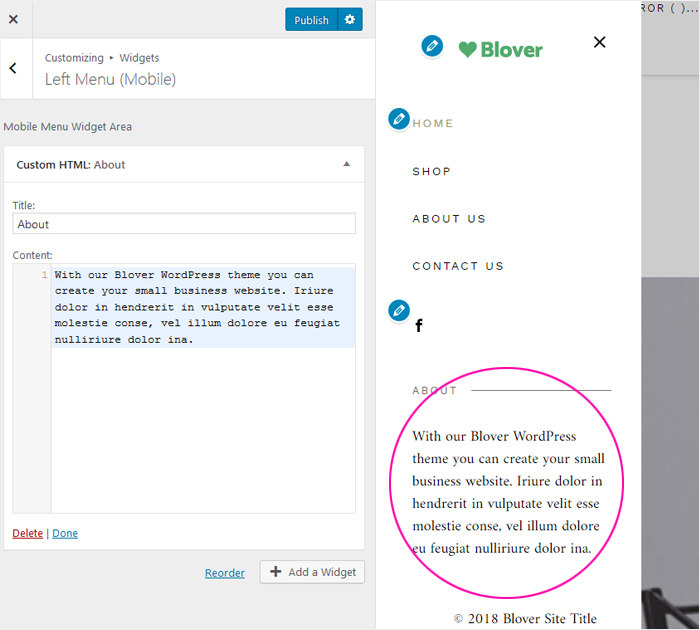
– Custom HTML Widget, such as a banner / an advertisement – as in our example here or a text widget.
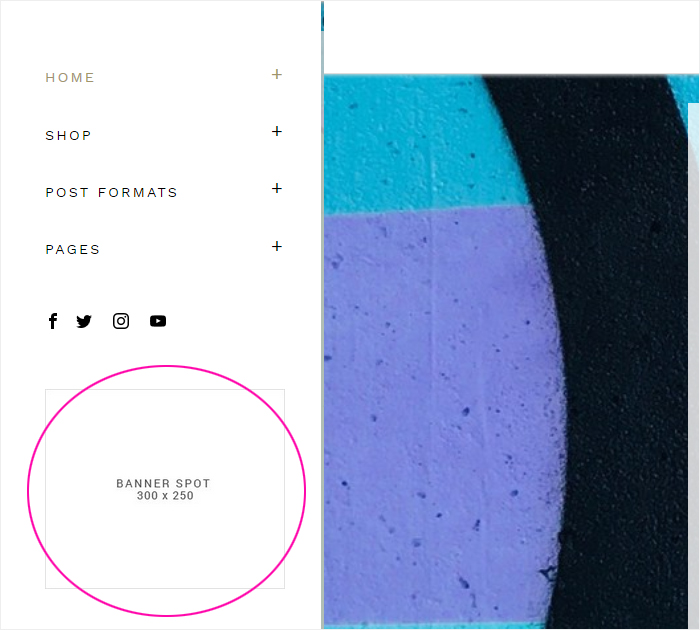
4.2.1. Custom HTML
4.2.1.1. Banner / Image / Advertising
To add an advertisement or banner, first, you must prepare an image. Be sure to read the article: Optimization of images in WordPress. How you should do it and why it is so important.
Then add the image to the Media Library in WordPress. Please go to Media > Library > Add New and Drop your image in the designated place or click Select File to select the image from your computer.
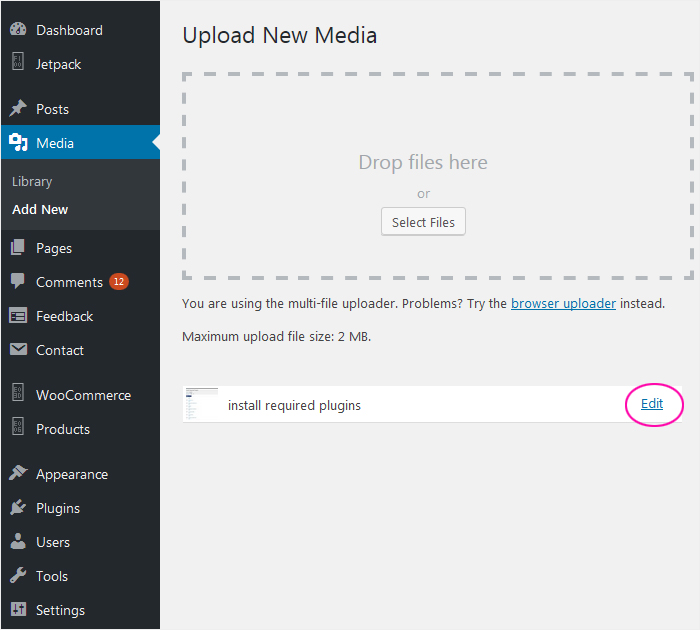
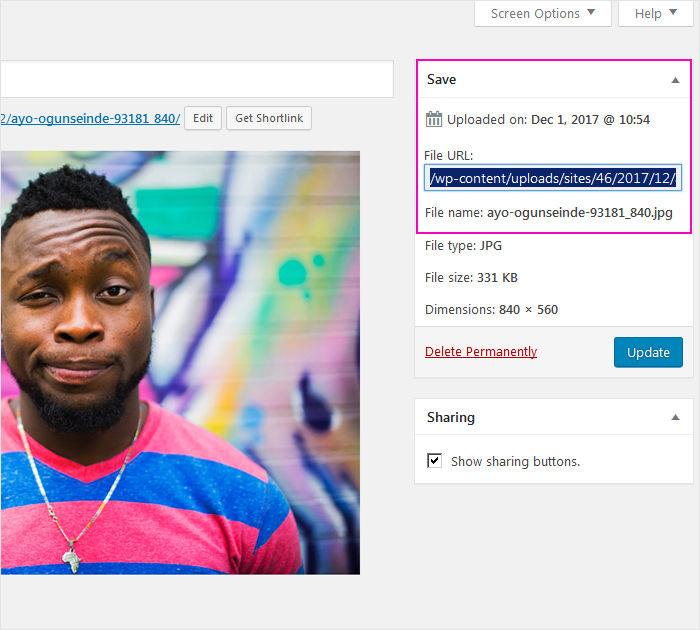
In order for the photo to appear on your website, you need to know its URL. You will find it by clicking Edit on the right side of the loaded photo. Copy the URL, then please go to Appearance > Customize > Widgets > Left Menu > Add a Widget > Custom HTML and enter the following in the body:
<a href=”link, where the image redirect after clicking“><img src=”image URL” alt=”alternate text“></a>
4.2.1.2. Text
To add Text please go to Appearance > Customize > Widgets > Left Menu > Add a Widget > Custom HTML
4.3. Top & Bottom Widgets
Blover has the option of placing additional content on the site in the Top Widget, which is at the top of the page right under the slide or in the Bottom widget, which you will find at the bottom of the page.
In our demo, you will find
- WordPress Popular Posts plugin in various settings configurations. For more information about the WordPress Popular Posts plugin, see section 4.1.1. above.
GOOD TO KNOW
The only thing to keep in mind here is the number of posts displayed. When inserting WordPress Popular Posts in the Top & Bottom Widget, enter the number 4 in the ‘Show up to’ field.
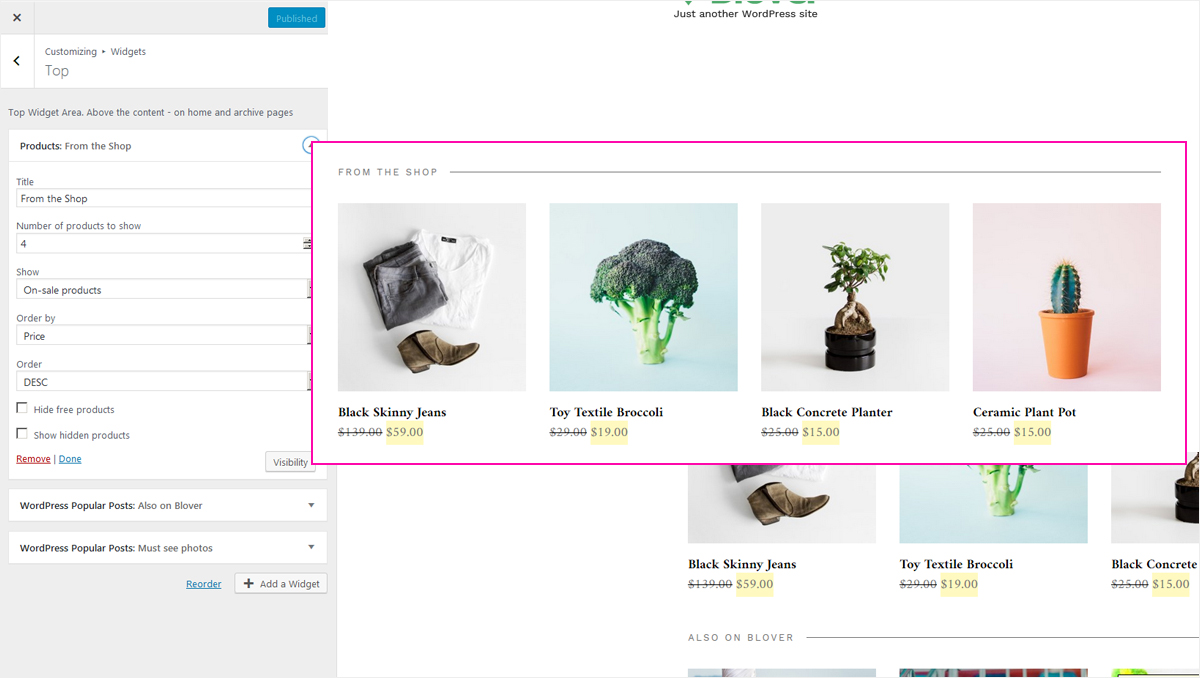
- Products from WooCommerce – Please go to Appearance > Customize > Widgets > Top > Add a Widget > Products
- Instagram Slider Widget – in the Blover demo, you will also find Instagram Slider. More about it you will find in point 4.1.2. above. By inserting Instagram slider in the Top or the Bottom Widget, in the Image format field, select Standard 640×640.
4.5. Footer Widget
The Footer is located at the bottom of the page and gives you the option to insert additional content in four columns.
Please go to Appearance > Customize > Widgets > Footer > Add a Widget and choose the ones you need.
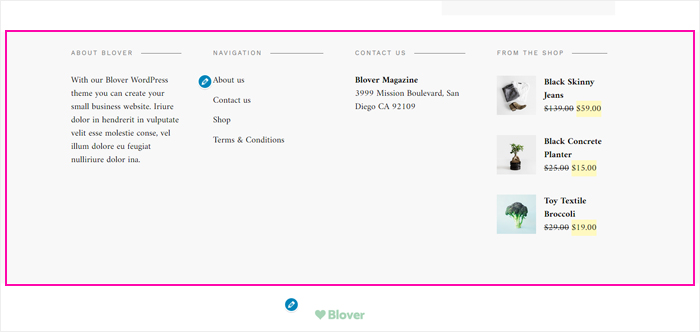
If you want your Footer to look like in the Blover template, select the following widgets:
- About and contact us – it’s Custom HTML widget
- Navigation – it’s custom Menu
- From the shop – Products from Woocommerce
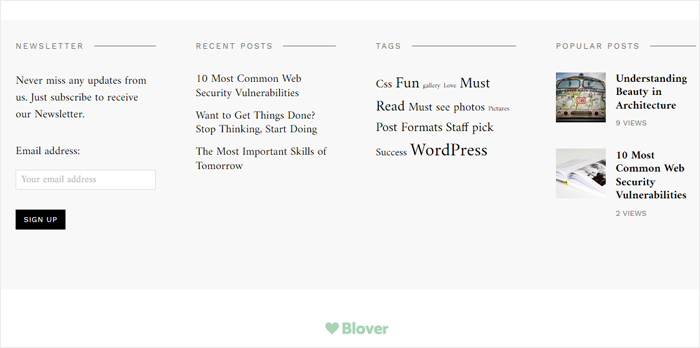
Keep in mind that the possibilities shown in the demo are not the only ones. The other proposed plugins will look good in the footer:
- WordPress Popular Posts
- Recent Posts or Tags and others.
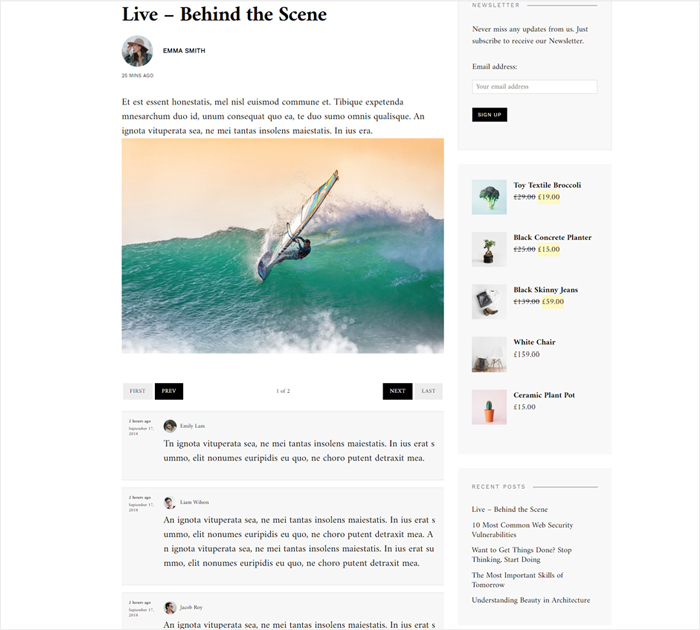
5. Live events with Liveblog
With Blover, you can report important live events. Thanks to the Liveblog plugin, you can keep your readers informed without having to constantly refresh the page.
To create a live blog post enter: Posts > Add New. At the bottom of the page, check Enable at Enables liveblog on this post.
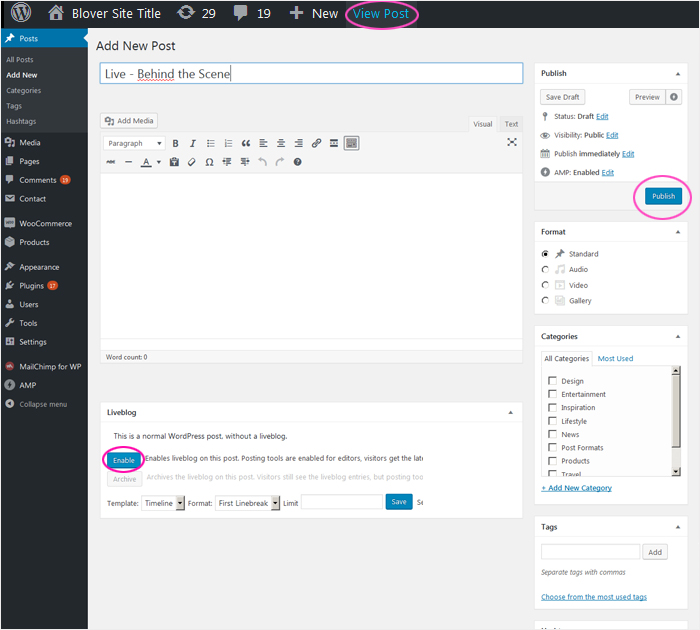
Fill in the content and title fields, click Publish button and then View Post. And that’s it. Your live blog post is now ready for action. There is no need to create a separate site dedicated to liveblogging: each post can be a live blog, even the existing one. All you have to do is check Enable at Enables liveblog on this post and confirm the changes by clicking Publish.
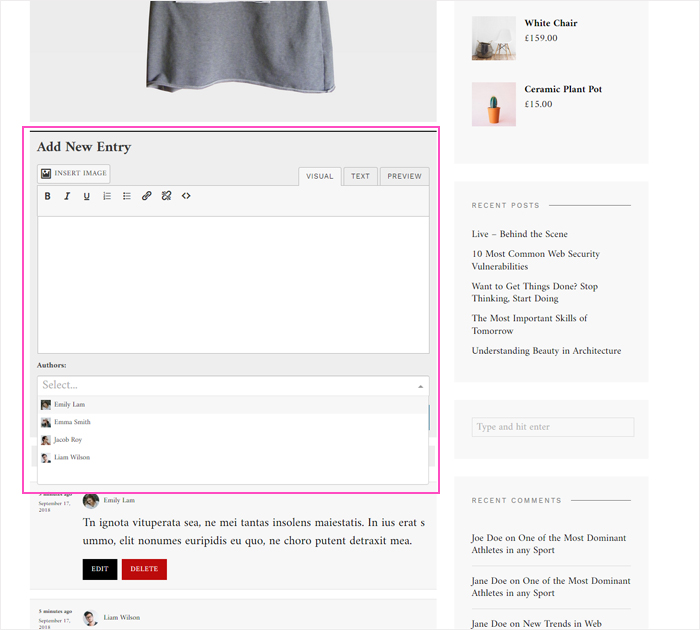
Current entries are added right from the front-end of your site. And most importantly, all entries immediately appear on your site without having to refresh.
As a logged-in user, you can add and delete entries. Remember the page you are logged in looks different from the page the end-user is watching.
6. Supported plugins
Blover is ready for use with the following WordPress plugins:
- WordPress Popular Posts to show the most popular posts.
- Woocommerce for eCommerce shops.
- User Social Profiles to show social icons on the author’s site.
- MailChimp for WordPress to show a MailChimp newsletter subscribe
- Jetpack by WordPress.com
- Contact Form 7 to display contact forms.
- Liveblog to show live posts.
- AMP for increased mobile page speed.